
We have all witnessed the gut-wrenching horror of “testing in production”: You log into your live WordPress dashboard on a Friday afternoon, click “Update All Plugins,” and within three seconds, your high-converting e-commerce store or corporate site collapses into a terrifying white screen:
There has been a critical error on this website. Please check your site admin email inbox for instructions.
Testing major plugin upgrades, PHP version transitions, theme customizations, or WooCommerce payment gateway updates directly on a live production website is one of the riskiest habits in web management.
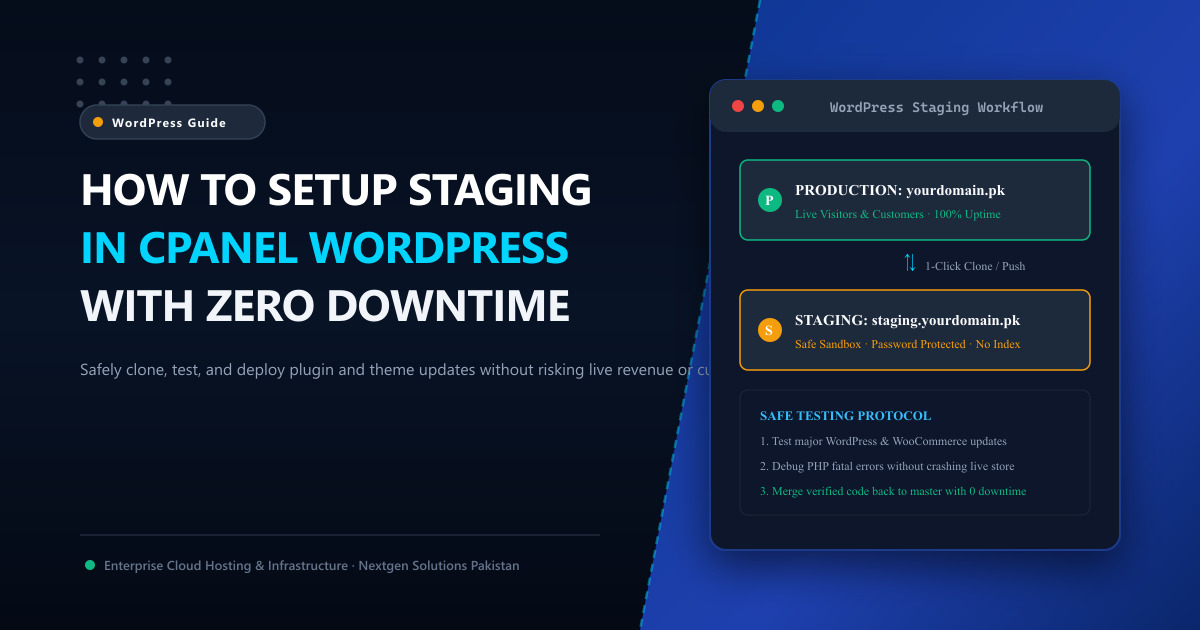
The industry-standard solution is to operate a Staging Environment—an exact, isolated clone of your live website where you can test code changes, break things safely, and verify stability before syncing changes back to production.
In this step-by-step masterclass, we guide you through setting up a bulletproof WordPress staging environment in cPanel using automated 1-click tools, as well as a clean manual workflow that requires zero bloated third-party plugins.
🛠️ Method 1: The Automated 1-Click Staging via cPanel WP Toolkit
If your cPanel hosting includes WordPress Toolkit or Softaculous, creating a staging environment takes less than two minutes:
Step 1: Clone to Staging Subdomain
- Log into your cPanel account.
- In the Applications or Software section, open WordPress Toolkit.
- Locate your primary live website (
yourdomain.pk). - Click the Clone button.
- In the clone wizard:
- Select Create Subdomain (e.g.,
staging.yourdomain.pk). - Leave the database name as generated (cPanel creates an isolated staging database automatically).
- Select Create Subdomain (e.g.,
- Click Start. The tool will copy all files, duplicate the database, update internal WordPress URL strings, and configure file permissions automatically.
Step 2: Push Verified Changes Back to Production
Once you have tested your plugin updates, CSS modifications, or new features on staging.yourdomain.pk:
- Return to WordPress Toolkit.
- Select your staging installation and click Copy Data (or Push to Live).
- Choose whether to sync files, database tables, or both.
- Click Start. Your verified changes are merged into the live site with zero downtime!
💻 Method 2: Manual Staging Setup (No Plugins Needed)
If you prefer full control over your files and database without relying on automated software tools, follow this clean manual workflow:
Step 1: Create a Staging Subdomain
- In cPanel, navigate to Domains ➔ Domains.
- Click Create A New Domain.
- Enter
staging.yourdomain.pkand specify a distinct document root:/home/username/staging.yourdomain.pk/.
Step 2: Copy Production Web Files
- Open File Manager and enter
/home/username/public_html/. - Select all files and folders (except any existing backup archives).
- Click Copy and set the target path to
/home/username/staging.yourdomain.pk/.
Step 3: Duplicate the MySQL Database
- Navigate to Databases ➔ phpMyAdmin.
- Select your live WordPress database in the left sidebar.
- Click the Operations tab at the top.
- Locate the section titled “Copy database to:”.
- Enter a new database name:
username_stagingdband select “Structure and data”. Click Go. - In cPanel ➔ MySQL Databases, create a dedicated staging database user and bind it to
username_stagingdbwith ALL PRIVILEGES.
Step 4: Update wp-config.php and Database URLs
In your staging folder (/staging.yourdomain.pk/), open wp-config.php and update the database credentials:
// Update to Staging Database Credentials
define( 'DB_NAME', 'username_stagingdb' );
define( 'DB_USER', 'username_staginguser' );
define( 'DB_PASSWORD', 'YourStrongStagingPassword2026!' );
define( 'DB_HOST', 'localhost' );

// Force Staging URLs (Prevents redirecting back to live production!)
define( 'WP_HOME', 'https://staging.yourdomain.pk' );
define( 'WP_SITEURL', 'https://staging.yourdomain.pk' );
🚫 Critical Step: Block Search Engines from Indexing Staging
You must never let Google, Bing, or Yahoo index your staging website. If search engine bots index your staging subdomain:
- You will be penalized for duplicate content, tanking your live site’s organic rankings.
- Confused clients might find and purchase products on the staging URL with dummy testing data.
1. The robots.txt Lockdown
In /staging.yourdomain.pk/robots.txt, place the following directives:
User-agent: *
Disallow: /
2. HTTP Basic Authentication (Password Protect the Entire Staging Site)
The most secure way to hide your staging site from the public and crawlers is password protection:
- In cPanel, navigate to Files ➔ Directory Privacy.
- Select the
staging.yourdomain.pkfolder. - Check “Password protect this directory”, enter a name like “Staging Sandbox”, and click Save.
- Create an authorized username and password. Now, no one can view the staging site without entering your team’s login credentials!
⚡ The Infrastructure Advantage: Staging on High-IOPS Cloud VPS
Cloning a 20 GB WooCommerce store containing 10,000 product images and a massive database requires heavy disk I/O and substantial RAM. On budget shared hosting, running a clone script often triggers CPU exhaustion and 504 timeouts.
By hosting your client fleet on Nextgen Cloud VPS in Pakistan or bare-metal Dedicated Servers:
- High-throughput PCIe Gen4/Gen5 NVMe drives clone multi-gigabyte databases in seconds.
- You can spin up isolated staging Docker containers or subdomains with zero performance impact on live shoppers.
- Enjoy 24/7 expert sysadmin assistance for complex database merges.
📚 Related Technical Architecture Guides & Reading
- How to Use cPanel to Manage Your Web Hosting – Practical guide to File Manager, MySQL users, and SSL configurations.
- Best PHP Version for WordPress Performance: PHP 8.3 vs 8.2 Benchmarks – Test new PHP runtimes safely on staging before rolling out to production.
- LiteSpeed Cache & Redis Object Caching for WordPress – In-memory object caching strategies for high-speed dynamic WordPress sites.
Deploy Developer-Friendly WordPress Cloud VPS in Pakistan
Never risk your live website again. Nextgen Cloud VPS instances come pre-equipped with WordPress Toolkit, 1-click staging environments, daily automated snapshot backups, and high-speed NVMe storage in Tier-3 Islamabad datacenters.