
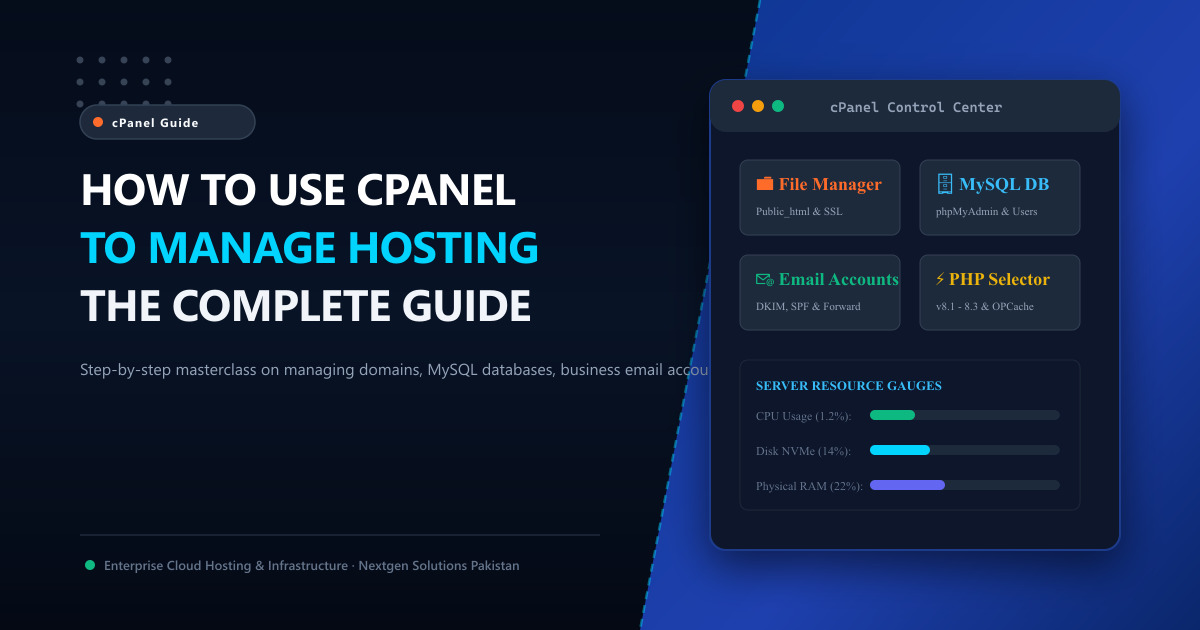
Whether you have just launched your very first business website or you are managing a growing portfolio of client portals for a Pakistani digital agency, cPanel is the command bridge of your web hosting environment.
Despite the recent emergence of lightweight control panels, cPanel remains the global and Pakistani industry benchmark. Behind its graphical interface lies a robust Linux automation engine that lets you manage web files, configure relational databases, issue cryptographic SSL certificates, create branded corporate email accounts, and monitor server health without ever typing a raw command line in a terminal.
In this practical guide, we cut through the confusing icon sprawl and break down the essential cPanel modules every website owner and developer needs to master.
🔑 1. Accessing Your cPanel Dashboard Securely
Most hosting providers send welcome emails with direct login links, but you can always access your cPanel dashboard directly through your web browser using standardized ports:
https://yourdomain.pk:2083
https://yourdomain.pk/cpanel
[!IMPORTANT] Always verify that your browser connects over Port 2083 (encrypted HTTPS) rather than the legacy unencrypted Port 2082. This ensures that your root credentials and session tokens cannot be intercepted over public Wi-Fi or local ISP gateways.
Once logged in, you are greeted with the core dashboard. In the right-hand sidebar, pay immediate attention to the General Information and Statistics panels:
- Server Name & Shared/Dedicated IP: Identifies your physical server and outgoing mail reputation.
- Disk Usage & Inode Count: Monitors total storage and file count limits.
- CPU & Physical Memory Usage: Real-time gauges indicating whether your site is running smoothly or hitting hardware thresholds.
📁 2. File Management & Directory Architecture
The cPanel File Manager is your virtual FTP client, allowing you to upload, extract, edit, and manage file permissions directly from your browser.
The Sacred public_html Directory
When visitors type yourdomain.pk into their browser, the web server serves files located inside the /home/username/public_html/ directory:
- Root Website Files: Place your
index.htmlorindex.phpdirectly insidepublic_html. - Subdomains & Addon Domains: By default, secondary domains are routed to their own folders inside or parallel to
public_html(e.g.,public_html/blog/orsubdomain.yourdomain.pk/).
Hidden Files & The .htaccess Engine
Many critical server directives (such as URL rewrites, browser caching, and security rules) are governed by the .htaccess file. Because files starting with a dot are treated as hidden in Linux, click Settings (top-right corner of File Manager) and ensure “Show Hidden Files (dotfiles)” is checked.
# Standard WordPress Rewrites in .htaccess
<IfModule mod_rewrite.c>
RewriteEngine On
RewriteBase /
RewriteRule ^index\.php$ - [L]
RewriteCond %{REQUEST_FILENAME} !-f
RewriteCond %{REQUEST_FILENAME} !-d
RewriteRule . /index.php [L]
</IfModule>
🗄️ 3. Managing MySQL Databases & phpMyAdmin
Modern dynamic websites (including WordPress, Laravel, Magento, and OpenCart) store all posts, products, user credentials, and orders inside a relational database.
The 3-Step Database Setup Rule in cPanel:
- Create the Database: Navigate to Databases ➔ MySQL Databases. Enter a name (e.g.,
user_shopdb) and click Create Database. - Create the Database User: Scroll down to MySQL Users. Generate a strong 24-character cryptographic password.
- Bind User to Database: In the Add User to Database section, select your newly created user and database, click Add, and grant ALL PRIVILEGES.
To inspect raw tables, export SQL backups, or repair corrupt database records, open phpMyAdmin with a single click from the cPanel dashboard.
📧 4. Creating Professional Business Email Accounts
Stop sending enterprise quotations from generic free email providers like @gmail.com. cPanel lets you spin up unlimited professional mailboxes attached to your company domain (e.g., info@yourcompany.pk).
Setting Up a Mailbox:
- Navigate to Email ➔ Email Accounts.
- Click + Create, enter your desired prefix, assign a storage quota, and generate a secure password.
- Access webmail immediately via
https://yourdomain.pk:2096using Roundcube.
[!TIP] To ensure your emails do not land in client spam folders, immediately configure your domain’s authentication records. Follow our deep-dive tutorial on How to Achieve 100% cPanel Email Deliverability: SPF, DKIM & DMARC.
🔒 5. Installing Free SSL Certificates (AutoSSL & Let’s Encrypt)
In 2026, running an HTTP website without an SSL lock icon destroys visitor trust and severely penalizes your Google organic rankings.
cPanel includes AutoSSL, which automatically generates and renews 90-day Let’s Encrypt or Sectigo certificates for all connected domains:
- Go to Security ➔ SSL/TLS Status.
- Check your primary domain and subdomains.
- Click Run AutoSSL. Within 60 seconds, your site will display the trusted padlock.
- To enforce HTTPS across your entire website, navigate to Domains ➔ Domains and toggle “Force HTTPS Redirect” to ON.
⚡ 6. Selecting PHP Versions & Extensions
Different web applications require different PHP runtimes. For example, older legacy scripts may require PHP 8.1, whereas modern high-speed WordPress setups perform best on PHP 8.3:
- Navigate to Software ➔ Select PHP Version (or MultiPHP Manager).
- Choose your active domain and switch the PHP runtime to PHP 8.2 or PHP 8.3.
- Under Extensions, ensure essential performance and caching modules are enabled:
opcache,imagick,redis,intl, andcurl.
📊 Shared cPanel Hosting vs. Dedicated Cloud VPS
While cPanel makes server administration effortless, your websites will eventually hit resource constraints if hosted on crowded shared servers:
| Feature | Standard Shared cPanel Hosting | Cloud VPS or Dedicated Server with cPanel |
|---|---|---|
| CPU Allocation | Shared across 200+ accounts (throttled at 1–2 vCPUs) | 100% Dedicated, unthrottled CPU cores |
| RAM Allocation | 1 GB – 2 GB CloudLinux limit | 4 GB to 128 GB+ Dedicated RAM |
| Root SSH Access | Disabled for security | Full Root Terminal & WHM Server Control |
| IP Reputation | Shared outbound mail IP (risk of blacklisting) | Clean Dedicated Static IPv4 Address |
| Traffic Capacity | 5,000 – 15,000 visits/month | 500,000+ high-concurrency visitors |
When your business scales beyond shared hosting limits, upgrading to Cloud VPS in Pakistan or enterprise Dedicated Servers in Pakistan gives you the complete power of WHM/cPanel on dedicated NVMe hardware with local 10ms PkIX latency.
📚 Related Technical Architecture Guides & Reading
- cPanel Hosting Complete Masterclass Guide – Advanced cPanel management, cron job scheduling, and backup automation.
- cPanel vs DirectAdmin vs CyberPanel Showdown – Compare control panel licensing costs, memory consumption, and migration workflows.
- LiteSpeed Cache & Redis Tuning for WordPress – Accelerate dynamic database queries and page generation speeds.
Deploy Blazing Fast cPanel Hosting on Enterprise NVMe in Pakistan
Experience instant page loads, 100% uptime, and pristine email delivery. Nextgen provisions cloud-accelerated cPanel shared hosting, managed VPS, and dedicated servers with LiteSpeed web server technology and 24/7 Pakistani expert support.