
In an era of increasing internet surveillance, nationwide ISP throttling, and sudden submarine fiber cable disruptions in Pakistan, commercial consumer VPN services (like NordVPN or ExpressVPN) are increasingly problematic:
- Shared Blacklisted IPs: Commercial VPN providers route thousands of anonymous users through the same exit gateways. As a result, major platforms like Upwork, Fiverr, Stripe, AWS, and banking apps actively flag or block access.
- Heavy Overhead & Battery Drain: Legacy protocols like OpenVPN and IPsec contain hundreds of thousands of lines of bloated code, adding noticeable latency and draining laptop battery life.
- The Trust Factor: When using commercial third-party VPNs, you have to blindly trust that their “no-logs” policy is real and that your private client data is not being monitored.
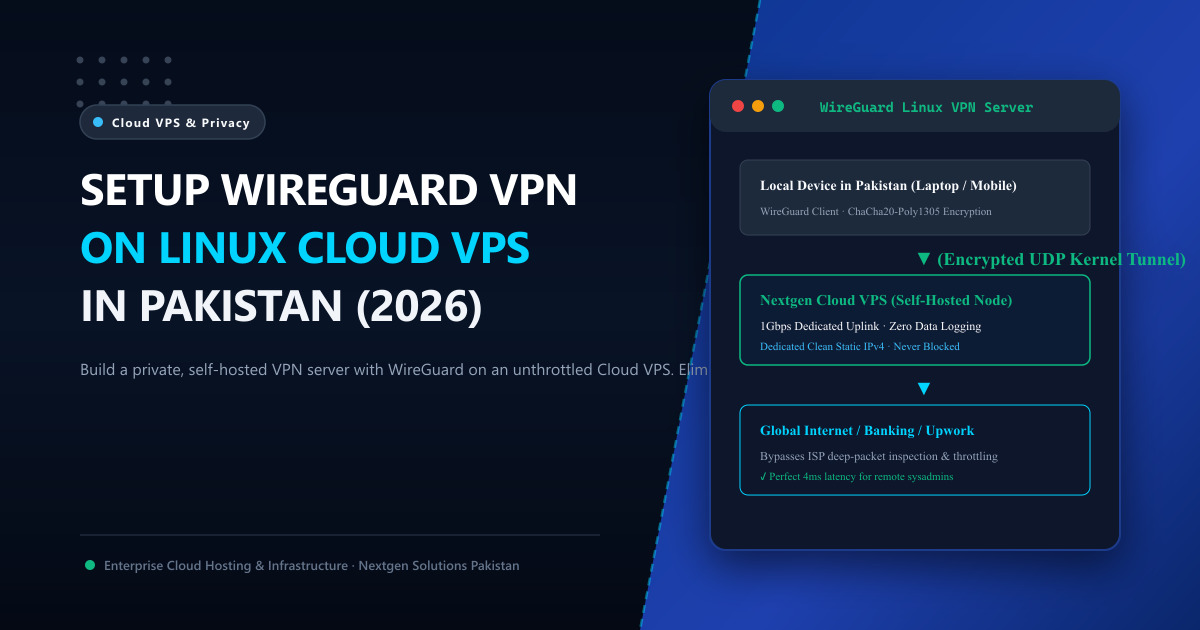
The modern engineering solution is to build your own self-hosted WireGuard VPN server on a dedicated, private Linux Cloud VPS.
WireGuard operates directly inside the Linux kernel using state-of-the-art cryptography (ChaCha20, Curve25519, Poly1305). With under 4,000 lines of code, it delivers near-zero latency, multi-gigabit throughput, and instant roaming between Wi-Fi and 5G connections.
In this step-by-step masterclass, we guide you through deploying and configuring a hardened WireGuard server on Ubuntu 24.04 / Debian 12 in under 10 minutes.
🏎️ WireGuard vs. OpenVPN vs. IPsec Benchmarks
| Metric / Dimension | OpenVPN (TCP/UDP) | IPsec / IKEv2 | WireGuard (Native Kernel) |
|---|---|---|---|
| Codebase Complexity | ~100,000+ lines of code | ~400,000+ lines of code | ~4,000 lines of code (Auditable & lean) |
| Kernel Integration | User-space (Slow context switching) | Kernel-space (Complex state) | Native Linux Kernel Module |
| Cryptographic Suite | Negotiated ciphers (Vulnerable to downgrade) | Complex legacy ciphers | Modern Fixed Primitives (ChaCha20, Curve25519) |
| Connection Handshake | 4 to 8 seconds | 2 to 5 seconds | Instant (<100 milliseconds) |
| Throughput on 1Gbps Link | ~250 Mbps (CPU bound) | ~450 Mbps | 950+ Mbps (Near line-rate) |
| Mobile Roaming (Wi-Fi ➔ 5G) | Connection drops; full renegotiation | Moderate reconnect time | Seamless hitless handoff (Zero packet drop) |
🛠️ Step-by-Step Production WireGuard Deployment on Ubuntu 24.04
Step 1: Install WireGuard & Tools
Connect to your Cloud VPS via SSH:
sudo apt update && sudo apt install -y wireguard qrencode iptablesStep 2: Generate Server and Client Cryptographic Keys
Generate the server’s asymmetric public and private key pair:
# Secure the directory
umask 077
wg genkey | tee server_private.key | wg pubkey > server_public.key
wg genkey | tee client_private.key | wg pubkey > client_public.key
Step 3: Configure the WireGuard Server (/etc/wireguard/wg0.conf)
Create the configuration file:
[Interface]
# Internal VPN Subnet
Address = 10.66.66.1/24
ListenPort = 51820
PrivateKey = <PASTE_CONTENTS_OF_server_private.key>

# Automatic NAT IP Masquerading via iptables
PostUp = iptables -A FORWARD -i wg0 -j ACCEPT; iptables -t nat -A POSTROUTING -o eth0 -j MASQUERADE
PostDown = iptables -D FORWARD -i wg0 -j ACCEPT; iptables -t nat -D POSTROUTING -o eth0 -j MASQUERADE

# Client Peer Configuration
[Peer]
PublicKey = <PASTE_CONTENTS_OF_client_public.key>
AllowedIPs = 10.66.66.2/32
Step 4: Enable IPv4 Packet Forwarding in Linux Kernel
To allow your VPS to forward internet traffic from your VPN tunnel to the open web, enable packet forwarding:
Edit /etc/sysctl.conf:
net.ipv4.ip_forward = 1Apply immediately:
sudo sysctl -pStart and enable WireGuard on boot:
sudo systemctl enable --now wg-quick@wg0Step 5: Generate Client Configuration & Mobile QR Code
Create client.conf to import into your MacBook, Windows PC, iPhone, or Android:
[Interface]
Address = 10.66.66.2/24
PrivateKey = <PASTE_CONTENTS_OF_client_private.key>
DNS = 1.1.1.1, 1.0.0.1

[Peer]
PublicKey = <PASTE_CONTENTS_OF_server_public.key>
Endpoint = YOUR_VPS_PUBLIC_IP:51820
AllowedIPs = 0.0.0.0/0
PersistentKeepalive = 25
To connect instantly from your smartphone, print a terminal QR code:
qrencode -t ansiutf8 < client.confOpen the official WireGuard app on your phone, tap + ➔ Scan QR code, and you are instantly connected to your private, unthrottled encrypted tunnel!
⚡ Why Deploy WireGuard on Nextgen Cloud VPS?
Running a self-hosted WireGuard VPN on a consumer home connection in Pakistan fails because residential fiber uplinks suffer from dynamic IP rotations, asymmetric upload speeds, and frequent power outages.
By hosting your WireGuard server on Nextgen Cloud VPS in Pakistan or bare-metal Dedicated Servers:
- You receive a pristine, dedicated static IPv4 address that is never shared with anyone else.
- Enjoy an unthrottled 1Gbps dedicated datacenter port with 99.99% continuous uptime.
- Bypass domestic ISP deep-packet inspection (DPI) and enjoy low-latency gaming and trading sessions.
📚 Related Technical Architecture Guides & Reading
- How to Choose the Best RDP for Freelancing & Forex Trading – Clean static IPs, Upwork security, and remote workspaces.
- The Ultimate Remote Desktop (RDP) Security Checklist – 7-point guide to hardening remote servers against intrusions.
- Dedicated vs Shared RDP in Pakistan: The Visual Infographic Guide – Account isolation and IP reputation breakdown.
Deploy High-Speed Linux Cloud VPS for WireGuard in Pakistan
Protect your connection and remote freelance business. Nextgen provides turnkey KVM Cloud VPS and dedicated bare-metal servers equipped with dedicated clean IPs, 1Gbps unthrottled bandwidth, and Tier-3 datacenter reliability in Islamabad.