
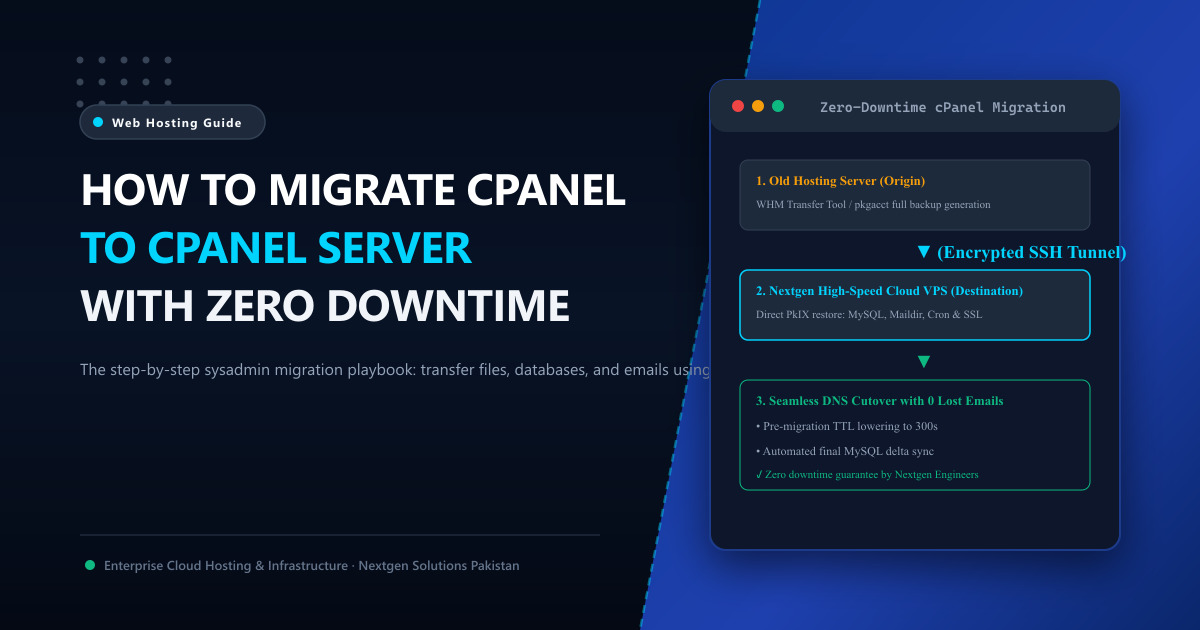
Migrating a production web hosting environment—with dozens of live e-commerce databases, thousands of active corporate mailboxes, and mission-critical SSL certificates—is often viewed as a high-stress, high-risk endeavor.
One wrong configuration during a server transfer can corrupt an active shopping cart database, trigger hours of unexpected downtime, or worse, cause incoming client emails to bounce permanently during DNS propagation.
Fortunately, cPanel & WHM (WebHost Manager) includes some of the most robust, battle-tested migration utilities in the web hosting industry. When executed with proper sysadmin discipline, migrating an entire cPanel server or individual client accounts can be completed with absolute zero downtime and zero data loss.
In this step-by-step migration playbook, we guide you through using the automated WHM Transfer Tool, outline the command-line CLI fallback method, and share our proven DNS cutover strategy to ensure a seamless transition.
🧭 The Zero-Downtime Migration Timeline
A professional migration is executed in four distinct phases:
[ Phase 1: Preparation (48 Hours Prior) ]
  - Lower DNS TTL to 300 seconds across all domains
  - Whitelist SSH firewall ports between old and new servers

[ Phase 2: Initial Bulk Transfer (Live Site Remains Up) ]
  - Transfer large files (uploads, media, static assets, historical mail)
  - Production traffic still routes to the old server

[ Phase 3: Final Delta Sync (Low Traffic Window) ]
  - Put dynamic sites into brief maintenance or lock MySQL writes
  - Sync only modified database rows and fresh incoming emails

[ Phase 4: DNS Cutover & Decommissioning ]
  - Switch A-records to new server IP (Instant 300s propagation)
  - Verify email routing and cancel old server after 7 days
🛠️ Method 1: Automated WHM Transfer Tool (Recommended)
If you have root access to both your old server and your new destination server (such as a newly provisioned Cloud VPS or Dedicated Server), the WHM Transfer Tool is the fastest and safest approach:
Step 1: Open Transfer Tool on the New Server
- Log into WHM on your new destination server (
https://new-server-ip:2087). - In the top-left search bar, search for Transfer Tool.
- Enter the connection credentials for your old server:
- Remote Server Address: The IP address or hostname of the old server.
- Remote SSH Port: Default
22(or your custom hardened SSH port). - Authentication: Select
rootuser and enter your root password or paste your private SSH key.
- Click Fetch Account List.
Step 2: Select Accounts & Configure Overrides
WHM will connect over an encrypted SSH tunnel, inspect the source server, and display a list of all hosted accounts:
- Check the accounts you wish to migrate.
- Under Transfer Options, ensure “Express Transfer” is enabled. Express Transfer automatically updates the Apache virtual host on the old server to proxy traffic to the new server, ensuring visitors who hit the old server during DNS propagation are instantly served from the new one!
- Click Copy.
WHM will automatically package the accounts, stream them over the high-speed private network, restore all MySQL databases, reinstate Let’s Encrypt / Sectigo SSL certificates, and configure mail routing seamlessly.
💻 Method 2: Manual CLI Migration via Terminal (pkgacct & restorepkg)
If your old hosting provider only gave you standard cPanel access (without WHM root credentials), or if firewall restrictions block the automated Transfer Tool, you can execute the migration manually via the command line:
Step 1: Package the Account on the Old Server
SSH into the old server and run:
/usr/local/cpanel/scripts/pkgacct username /home/backup_temp/This generates a complete, compressed cPanel archive containing all files, MySQL dumps, crontabs, email accounts, and zone files:
/home/backup_temp/cpmove-username.tar.gz
Step 2: Transfer Archive to New Server via rsync
Stream the archive directly over SSH:
rsync -avzP -e "ssh -p 22" /home/backup_temp/cpmove-username.tar.gz root@new-server-ip:/home/Step 3: Restore the Account on the New Server
SSH into the new server and restore the archive:
/usr/local/cpanel/scripts/restorepkg /home/cpmove-username.tar.gzcPanel will automatically re-create the user, extract all files with correct Linux ownership (chown username:username), import the databases, and configure virtual hosts.
🌐 The Secret to Zero Downtime: Pre-Migration DNS TTL Lowering
The primary reason migrations experience downtime is DNS caching. By default, domain names have a Time to Live (TTL) of 14,400 to 86,400 seconds (4 to 24 hours). If you change your server IP with a 24-hour TTL, some ISPs in Pakistan (such as PTCL, StormFiber, or Nayatel) will continue directing visitors to your old, terminated server for up to a full day!
The Pro Sysadmin Checklist:
- 48 Hours Before Migration: Open your DNS manager (Cloudflare, cPanel Zone Editor, or domain registrar) and lower the TTL of your
@andwwwA-records to 300 seconds (5 minutes). - Execute Migration: Perform the initial sync and delta sync.
- Switch IP: Change the A-record to the new server’s IP address. Because TTL is 300 seconds, 100% of global internet traffic will switch to your new server within five minutes!
- Restore TTL: Once verified, restore TTL to 3600 or 14400 seconds.
🚀 Free White-Glove Migration with Nextgen Cloud Infrastructure
Migrating multi-tenant agency fleets or complex high-concurrency databases can be daunting.
When you upgrade to Nextgen Cloud VPS in Pakistan or enterprise Dedicated Servers in Pakistan:
- Our senior Linux datacenter engineers handle your entire cPanel migration 100% free of charge.
- We perform delta syncing, database verification, and zero-downtime DNS cutovers during your off-peak night hours.
- Enjoy immediate sub-10ms domestic latency with direct PkIX peering in Islamabad.
📚 Related Technical Architecture Guides & Reading
- How to Use cPanel to Manage Your Web Hosting: The Practical Masterclass – Managing domains, DNS records, and SSL certificates with zero stress.
- How to Create a WordPress Staging Site in cPanel – Safely clone and test updates before pushing to production.
- cPanel vs DirectAdmin vs CyberPanel Showdown – Compare control panel costs, memory footprints, and alternative migration playbooks.
Upgrade to High-Performance Cloud VPS in Pakistan
Let our expert sysadmins migrate your cPanel websites, databases, and emails with zero data loss. Nextgen provides turnkey KVM Cloud VPS and dedicated bare-metal servers equipped with enterprise NVMe storage in Tier-3 Islamabad datacenters.